Who is Chrome and Nail?

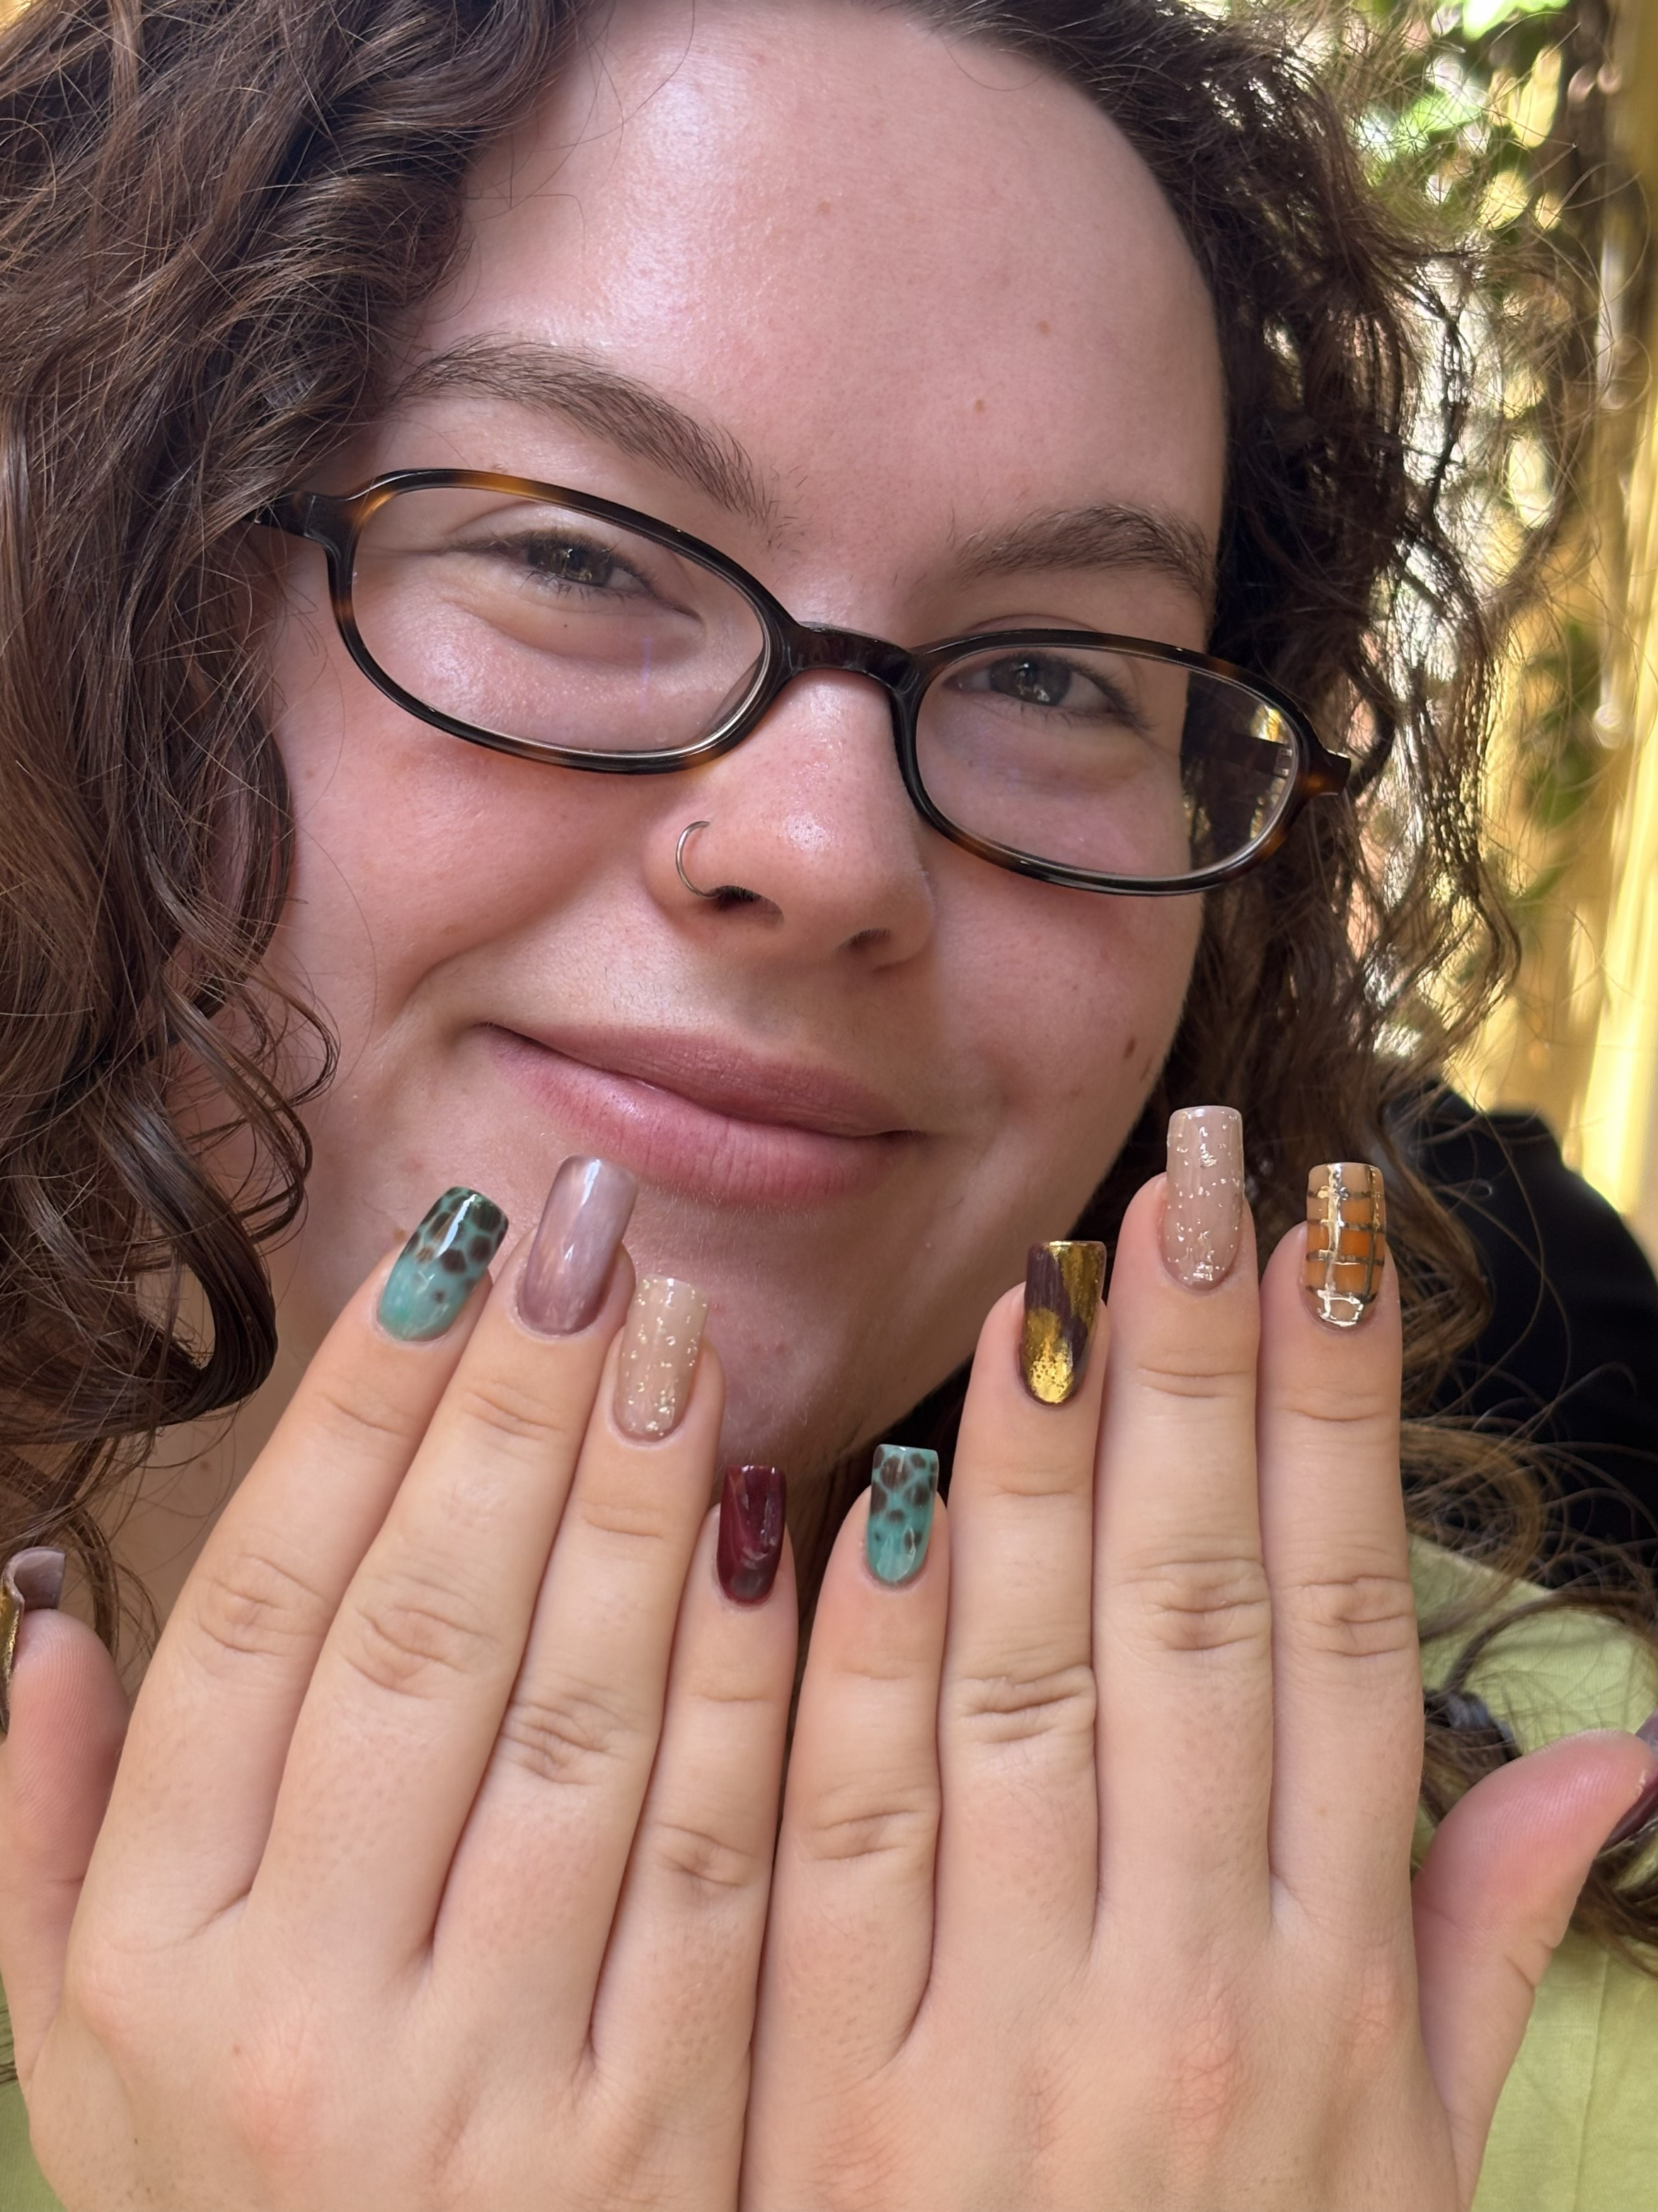
My name is Helen, and I’m the creator behind any press-on set you might order.
From around the age of 10, I’ve wanted my nails done at all times; and I’ve had some funky designs that’s for sure. Years of nail art practice and a drive to share this with others led me to develop Chrome and Nail!
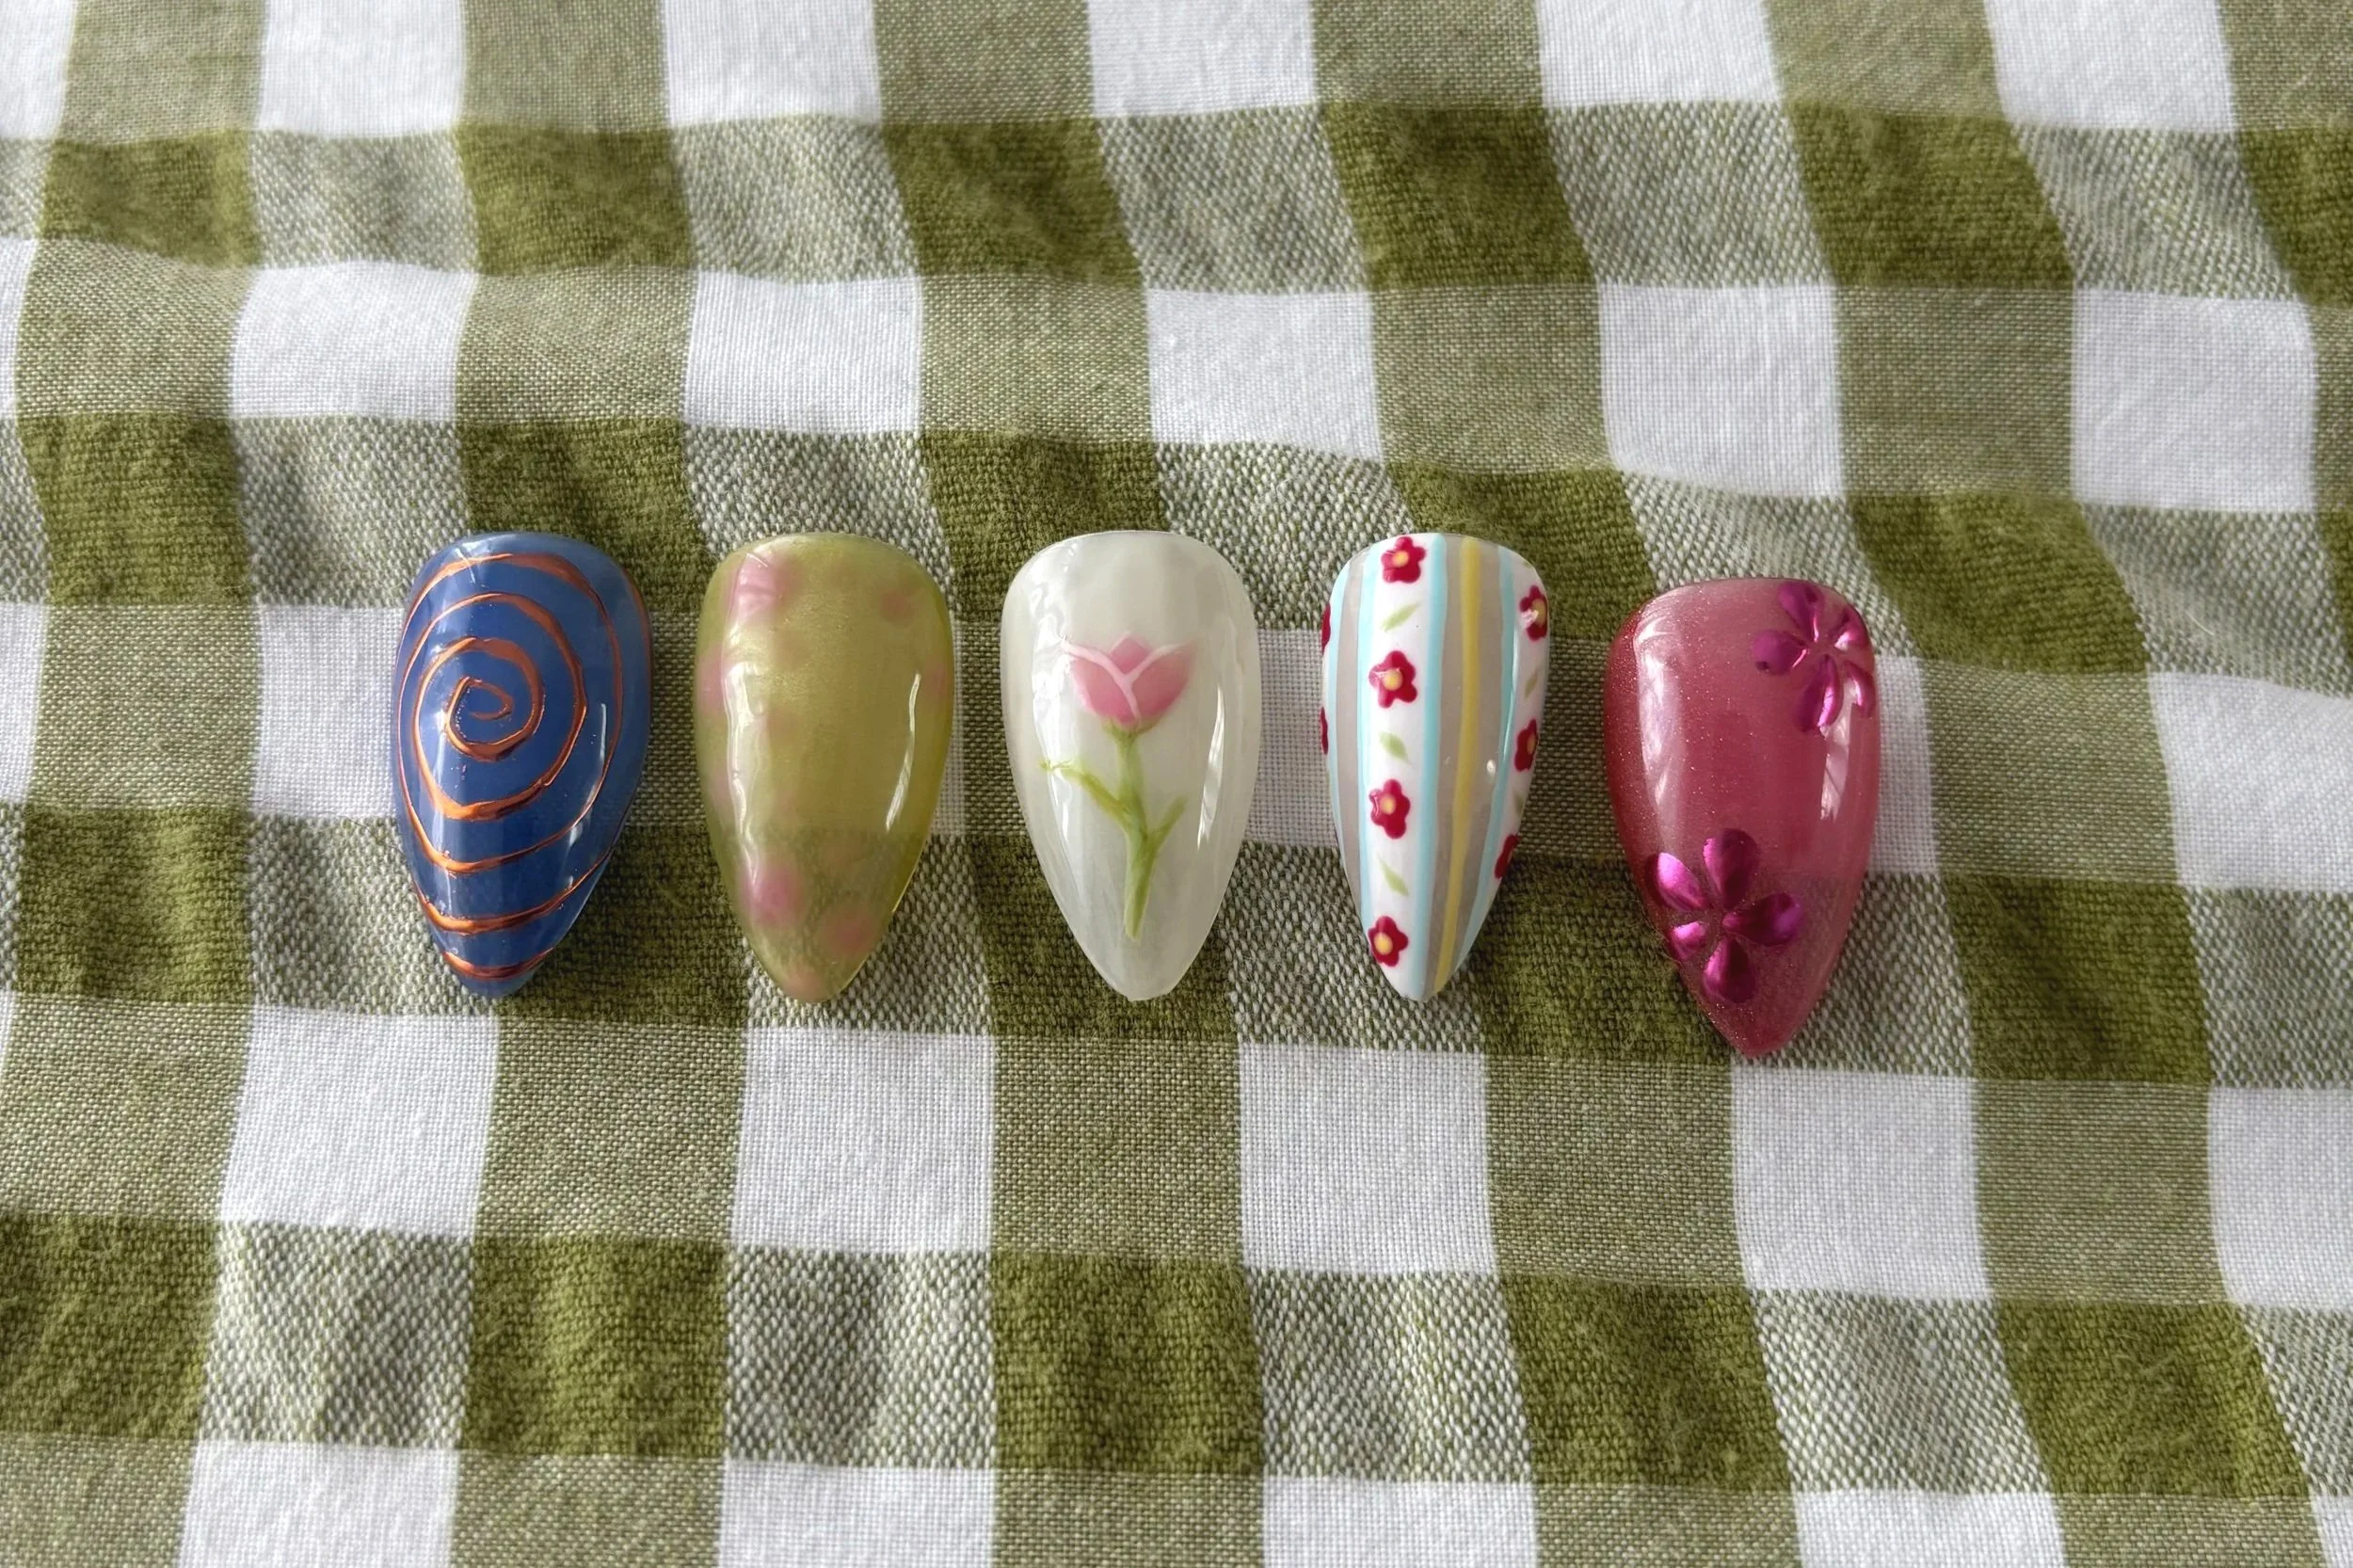
I aim to create high-quality, convenient and stylish designs for you to change up your look at home. Whether your art preference is maximal or minimal, there’s a set here for you.

* * * * * * * * * * * * * * *
* * * * * * * * * * * * * * *
How does it work?
After you submit your order, I will give you access to the sizing system. Please follow the link and steps provided so I can have accurate sizing guides for your nails. Sizing should ideally be done in bright lighting and with bare nails.
Returning customers can skip step 2!
Purchase a set (or multiple!) via the ‘shop’ page. Make sure to add an application kit if you would like one.
01
02
If you are requesting a custom art design, it is important you submit your inspiration photos/description to me so I can get to work on your set. Inspiration can be sent to chr0meandnail@gmail.com, please include your name and order number.
03

04
Once I have received your sizing information and design request I will get to work on your set. Please allow a 2-3 week lead time for all sets.
Application
How to Apply Press-On Nails with Glue
Prep your cuticles: Gently push back the cuticles using a wooden cuticle stick or your preferred cuticle pusher. Make sure there is no skin attached to the nail plate, as this can affect how long your press-ons last.
Buff the nail surface: Lightly buff the surface of your natural nails to remove the shine. This helps the glue adhere better.
Shape your natural nails: Use a nail file to neaten the free edge (the white tip) of your natural nails.
Clean your nails: Wipe each nail with an alcohol wipe to remove any dust, oils, or residue.
Apply the glue: Apply a small amount of nail glue to the back of the press-on nail. Avoid using too much, as excess glue can seep out around the edges.
Apply the press-on: Starting at the cuticle, place the press-on at a slight angle and gently slide it forward once from the base to the tip before pressing it down. Ensure the nail is straight before applying firm pressure.
Hold in place: Press and hold the nail firmly for 10–15 seconds to allow the glue to bond securely.
Repeat: Continue applying the remaining nails using the same method.
Your press-on nails are now ready to wear! For the best longevity, avoid getting your hands wet or using oils for at least 1–2 hours after application.
Removal
There are two ways to remove your press-on nails, depending on whether you would like to reuse your set.
Option 1: Gentle Soak-Off (Reusable Set)
This method helps preserve your press-ons so they can be worn again.
Fill a bowl with warm water (comfortable to the touch), a few drops of dish soap, and a small amount of your chosen oil (such as coconut or olive oil).
Soak your nails for 10–15 minutes.
Using a wooden cuticle stick or your preferred cuticle pusher, gently work around the edges of the press-on nail. If you feel any resistance, do not force the nail off. Place your nails back into the bowl for a few more minutes before trying again.
Once all of the press-ons have been removed, gently buff your natural nails to remove any remaining glue residue.
Option 2: Acetone Soak-Off (Set Not Reusable)
This method is the quickest way to remove your press-ons but will damage the set, making it unsuitable for reuse.
Apply a protective layer of oil (such as coconut, olive, or cuticle oil) to the skin around your nails to help prevent dryness.
Soak a cotton ball in pure acetone, place one on each nail, and wrap each fingertip with a small piece of aluminium foil. Alternatively, pour pure acetone into a bowl and soak your nails directly.
Allow your nails to soak for 10–15 minutes, or until the glue begins to soften.
Using a wooden cuticle stick or your preferred cuticle pusher, gently lift around the edges of the press-on nail. If you feel any resistance, soak for an additional 5 minutes before trying again.
Once the press-ons have been removed, gently buff away any remaining glue residue from your natural nails.
Aftercare
Whichever removal method you choose, finish by applying cuticle oil or a nourishing hand cream to rehydrate your nails and skin. Acetone, in particular, can be very drying, so moisturising afterwards is highly recommended.
Have a question?
If you have any queries, please get in touch and I will come back to you as soon as I can!